Pricing
How to build a parts markup matrix for your shop
A flat markup makes cheap parts unprofitable and expensive parts look overpriced. A matrix fixes both. Here's how to build one.
By Gurjivan Singh, owner of Auto Star Garage and builder of Gearboxly
· 4 min read

A parts markup matrix is a table that sets your selling price based on what a part costs you. Cheap parts get a bigger markup, expensive parts get a smaller one. Once it's set, every part is priced the same way no matter who adds it to the repair order.
Most shops that price parts by feel end up with two problems: margins that vary from writer to writer and a lot of time spent deciding prices one part at a time. A matrix solves both.
Why a flat markup doesn't work
Say you mark everything up 50%. A $6 bulb sells for $9, and you made $3 for the time it took to look it up, order it, receive it and put it on the invoice. A $600 part sells for $900, which can look high next to an online price and invite a conversation you don't want. A matrix lets you earn a fair amount on small parts and stay competitive on big ones.

How a matrix is structured
Each row, or tier, covers a cost range and has a multiplier. For parts costing up to this much, multiply by this. Here's an example to show the shape, not a recommendation for your shop:
- Cost $0–$10: multiply by 2.5
- Cost $10–$50: multiply by 2.0
- Cost $50–$150: multiply by 1.7
- Cost $150–$400: multiply by 1.5
- Cost over $400: multiply by 1.35
With those example tiers, a $4 part sells for $10, a $40 part for $80 and a $500 part for $675. The dollar profit still grows with the part, but the percentage comes down as cost goes up.
Tip: Check where your tiers meet. A $49 part shouldn't sell for more than a $51 part. If it does, smooth the multipliers at the edges.
Building yours from real invoices
- Export a few months of parts sales with cost and price
- Group them into cost bands and look at what you actually charged
- Decide the gross profit you need on parts overall
- Set multipliers per band that get you there, starting near what you already charge
- Test a dozen common parts and make sure the prices look sane to you
Start close to your current pricing. A matrix that changes every price by 30% overnight will cause questions at the counter. Adjust over a few months if you need to.
Setting it up in Gearboxly
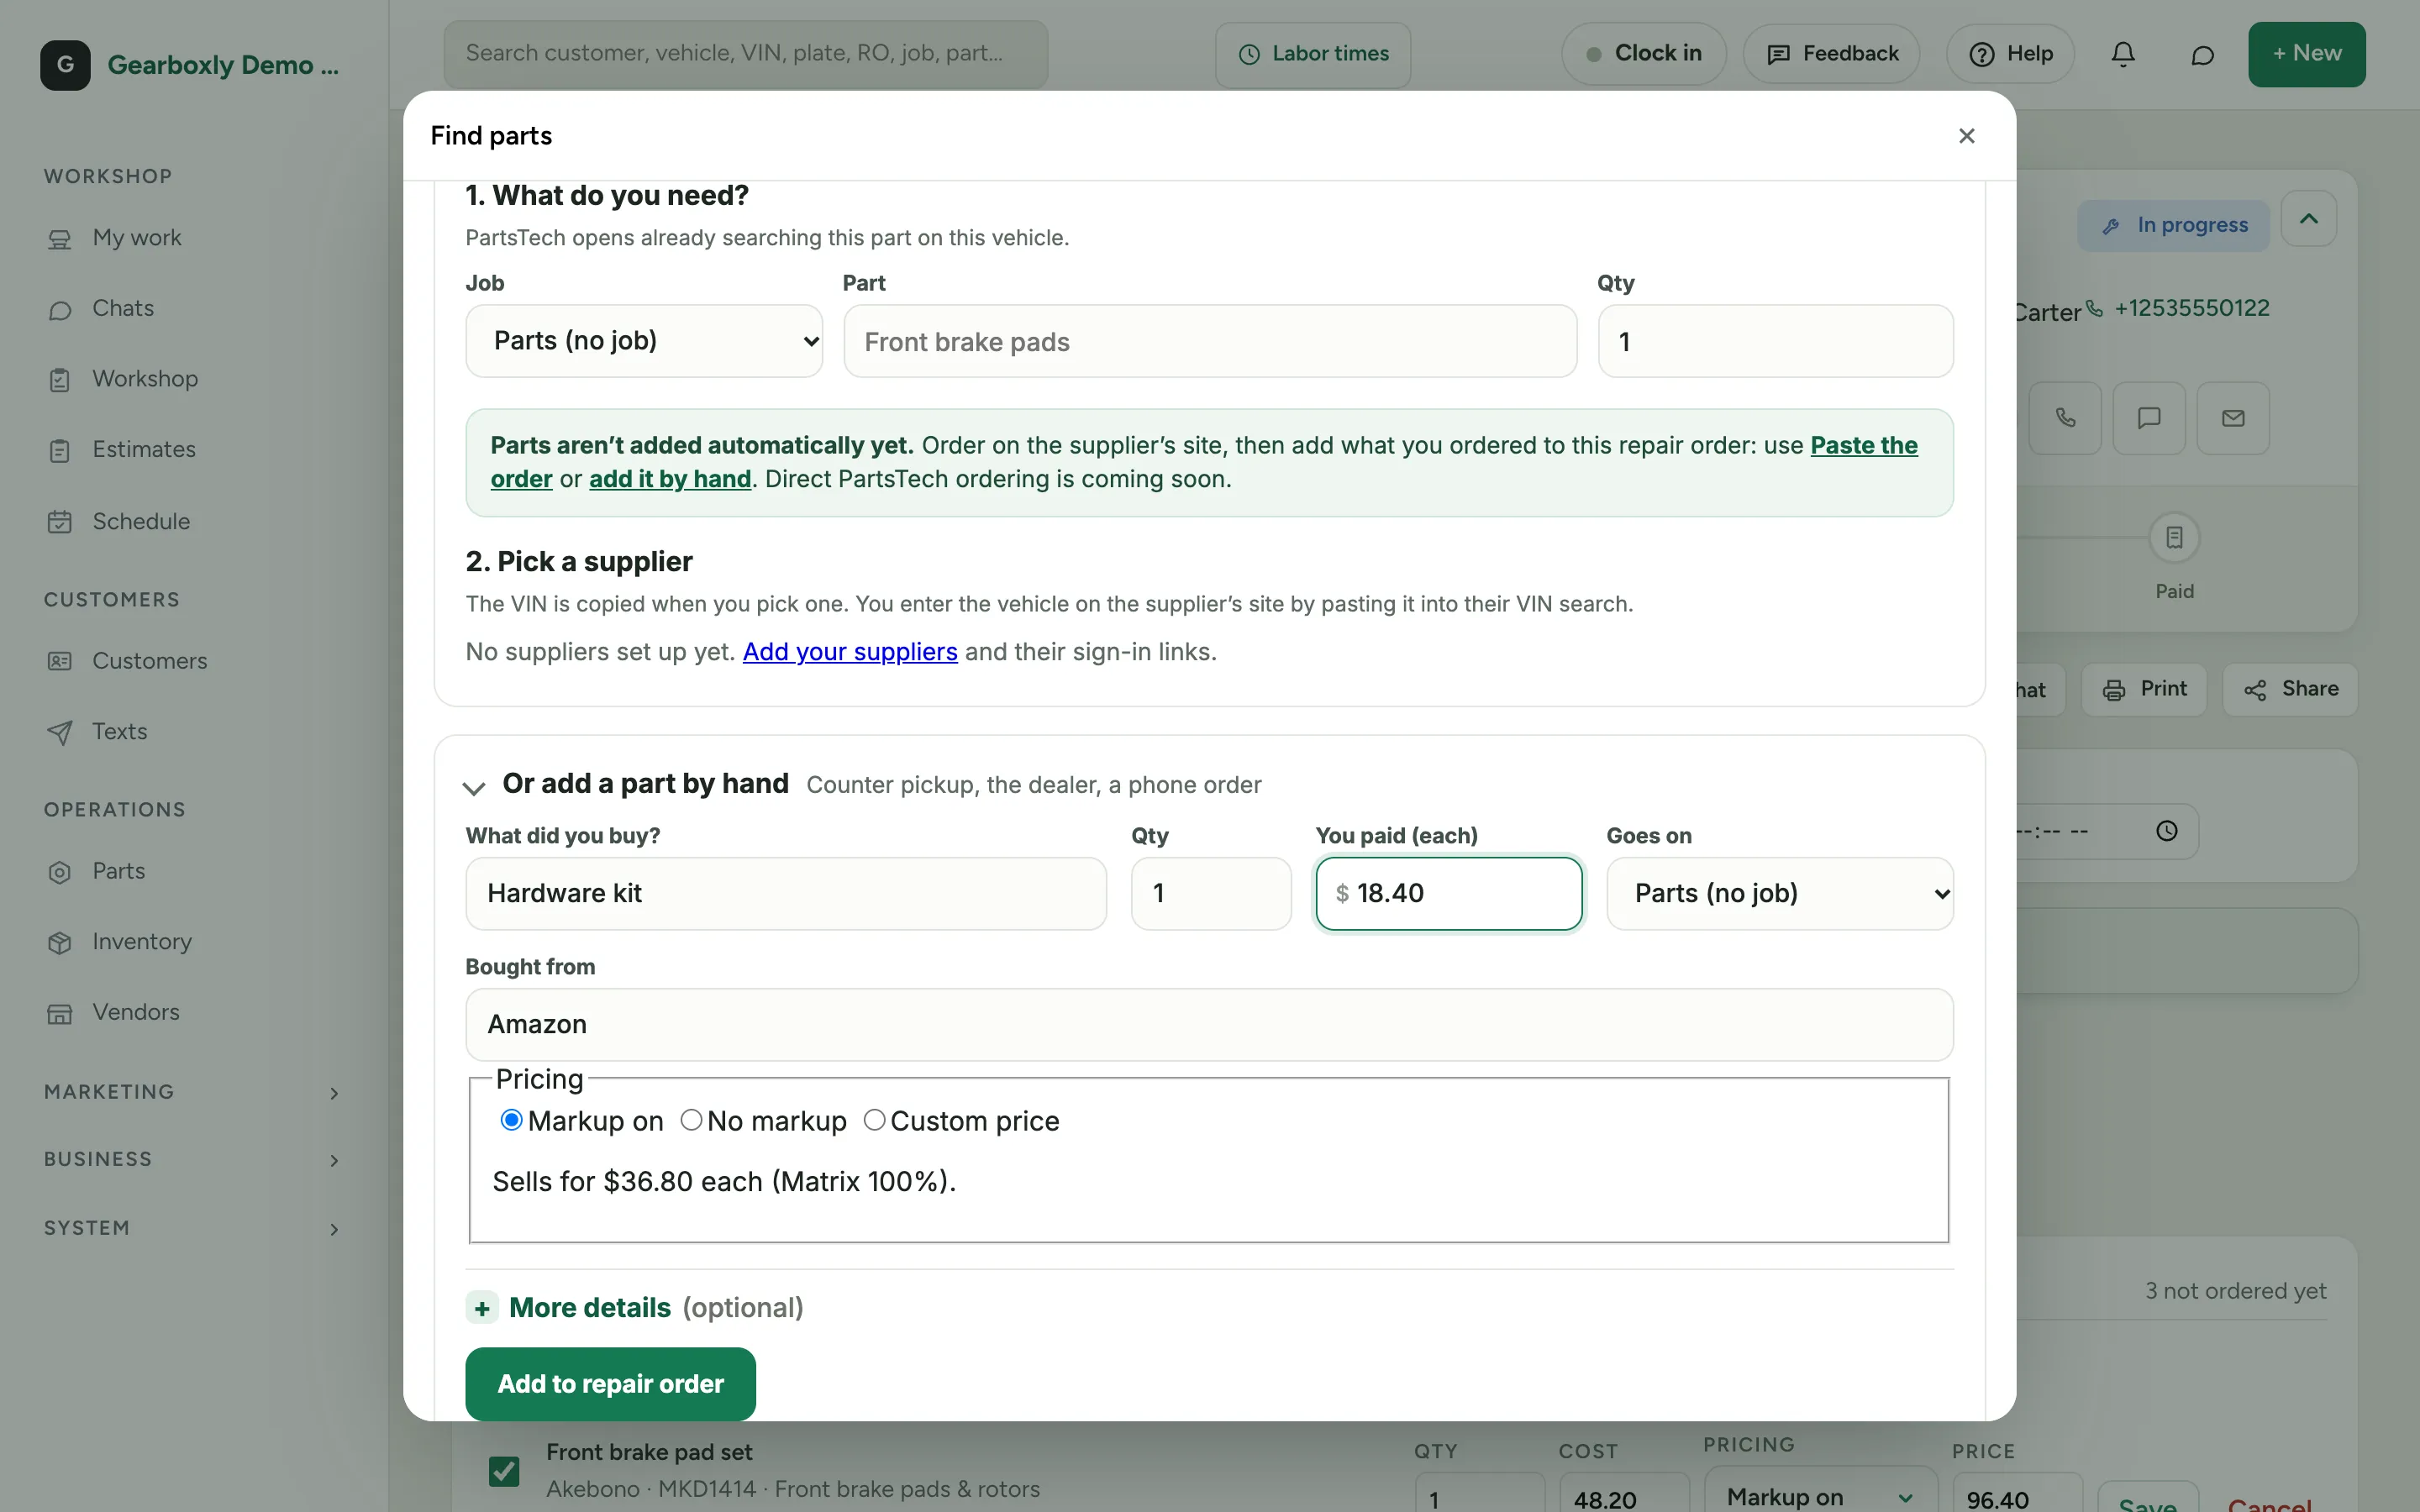
In Gearboxly, Settings has a Parts pricing page where you add tiers: for parts costing up to an amount, multiply by a number. Leave the last tier's cost empty to mean “and above.” There's a price tester on the same page, so you can type any cost and see what it sells for. When a writer adds a part and enters the cost, Gearboxly shows the selling price from your matrix before it's saved. If you'd rather keep it simple, turn the matrix off and use one flat markup.
Overrides: allow them, but notice them
There will always be cases where the matrix price is wrong: a customer-supplied part, a warranty job, a fleet agreement. Let writers override when they need to, but look at overrides once a month. If the same part keeps getting overridden, your matrix probably needs a tweak rather than your writers needing a talk.
Related: Auto repair shop KPIs worth checking every month
When to revisit the matrix
Parts costs move. Review your matrix every six months, and sooner if your parts gross profit drops for two months in a row. It's a five-minute change that affects every repair order after it.
The short version
A parts matrix gives cheap parts a bigger markup and expensive parts a smaller one, so you earn fairly on both. Build it from your own invoices, start close to current prices, test common parts, and review it twice a year.
Try it on your own repair orders
14-day free trial. No credit card. No contract, cancel anytime.
Start free trial