
Inspections
Inspection photos that customers actually approve
A good photo does the explaining for you. A few habits make the difference between “I'll think about it” and “go ahead.”
September 27, 2026 · 6 min read
Customers can't see under their car. When a writer says “your brakes are worn,” the customer has to take it on trust, and plenty of people have been burned before. A clear photo changes that. It turns a claim into something they can see for themselves, and trust follows.
But not every photo helps. A dark, blurry shot of a wheel well doesn't explain anything and can make the shop look careless. The good news is that taking useful inspection photos is a habit, not a talent. A few simple rules, practiced for a couple of weeks, make a real difference in how customers respond.
Show the problem, not the car
Get close. The customer doesn't need to see the whole wheel. They need to see the part that's worn. One photo of the worn pad next to a gauge says more than three wide shots of the brake assembly.
- Fill most of the frame with the problem itself
- Tap to focus on the part, not the background
- Hold the phone steady for a second before and after the shot
- Take two and keep the better one
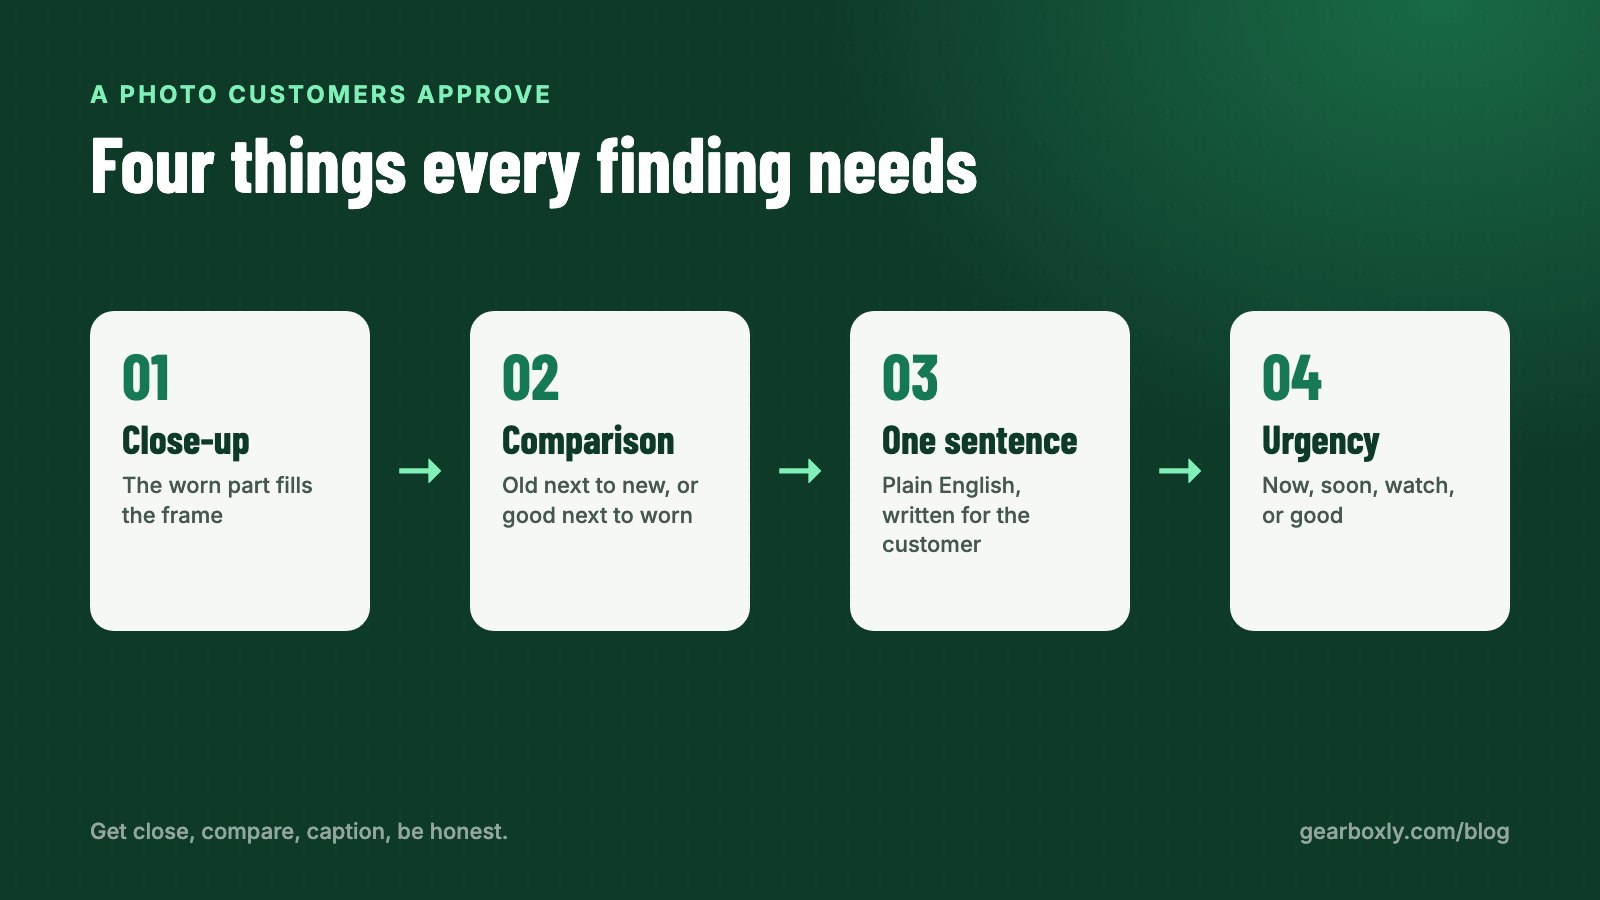
Think about who's looking at the photo. It's usually someone standing in a parking lot or sitting at a desk, looking at a phone screen a few inches wide. Small details that look obvious on the lift disappear on that screen. If you have to zoom in to see the problem, the customer won't bother.
Light it
Under a car, in a wheel well or behind an engine cover, phone cameras struggle. Use a work light or the phone's flashlight, and angle it so it doesn't bounce straight back off shiny metal. A photo that's too dark to read might as well not exist.
Wipe the area first if you can. Oil and road grime hide cracks and leaks, and a quick wipe makes a torn boot or a seeping gasket obvious.
Give it scale and context
A close-up can lose the customer if they can't tell what they're looking at. Add something that gives it meaning:
- A tread depth gauge in the groove of a worn tire
- A brake pad gauge or ruler against the pad
- A finger pointing at the crack, the leak or the torn boot
- A test strip next to the fluid bottle, showing the color
If one close-up isn't clear enough, take a second, wider photo that shows where the part is on the car, then the close-up. Two photos that tell a story beat five that don't.
Add a comparison
Old part next to new, or a good tire next to the worn one. Contrast does the explaining. A new air filter held up against a dirty one needs no words at all. Same with a clean cabin filter next to one full of leaves, or a new wiper blade next to a split one.
Write one plain sentence
Every photo needs a caption, and the caption should be written for the customer, not for the next tech. “RF pads 3mm” means something to you. To a customer, it's a code.
Compare that with: “Right front brake pads are down to 3mm. We recommend replacing them soon to protect the rotors.” That tells the customer what it is, how bad it is, and why it matters, in one sentence.
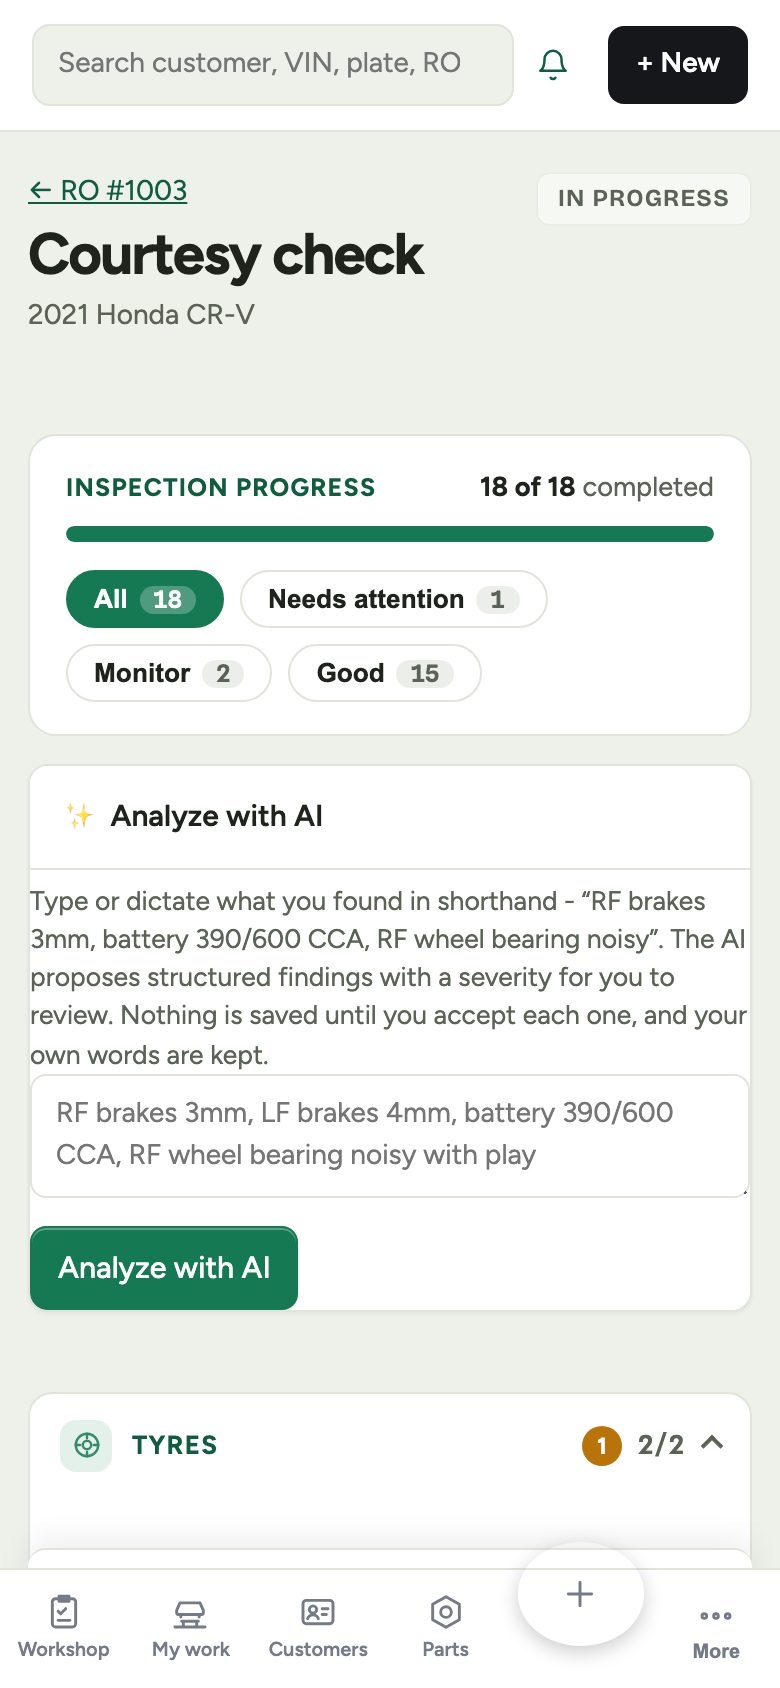
Techs are busy, and nobody wants to type full sentences on a phone with greasy hands. That's fine. In Gearboxly the tech writes shorthand like “RF brakes 3mm” and it gets rewritten into a plain sentence the customer understands. The writer can review it before it goes out.
Be honest about urgency
Mark each finding clearly: needs doing now, should be done soon, or fine for now. Customers approve more when they can see you're not pushing everything. An inspection that flags ten items as urgent reads like a sales pitch. One that flags two urgent, three to watch and the rest as fine reads like a professional opinion.
- Now: safety or damage-causing items, like metal-on-metal brakes or a leaking brake line
- Soon: wear items that will need attention in the next few months
- Watch: early wear worth checking next visit
- Good: show a few passing items too, so the customer sees the whole picture
Including a couple of photos of things that are fine is underrated. It shows the customer the tech actually looked at the whole car, and it makes the red items more believable.
Turn the photos into the estimate
Good photos are only half the job. They need to reach the customer quickly, attached to the work you're recommending. In Gearboxly, flagged inspection items become estimate jobs in one step, with the photos and the rewritten notes attached. The estimate goes out by text, and the customer can look at each photo, approve the jobs they want, decline the rest and sign on their phone.
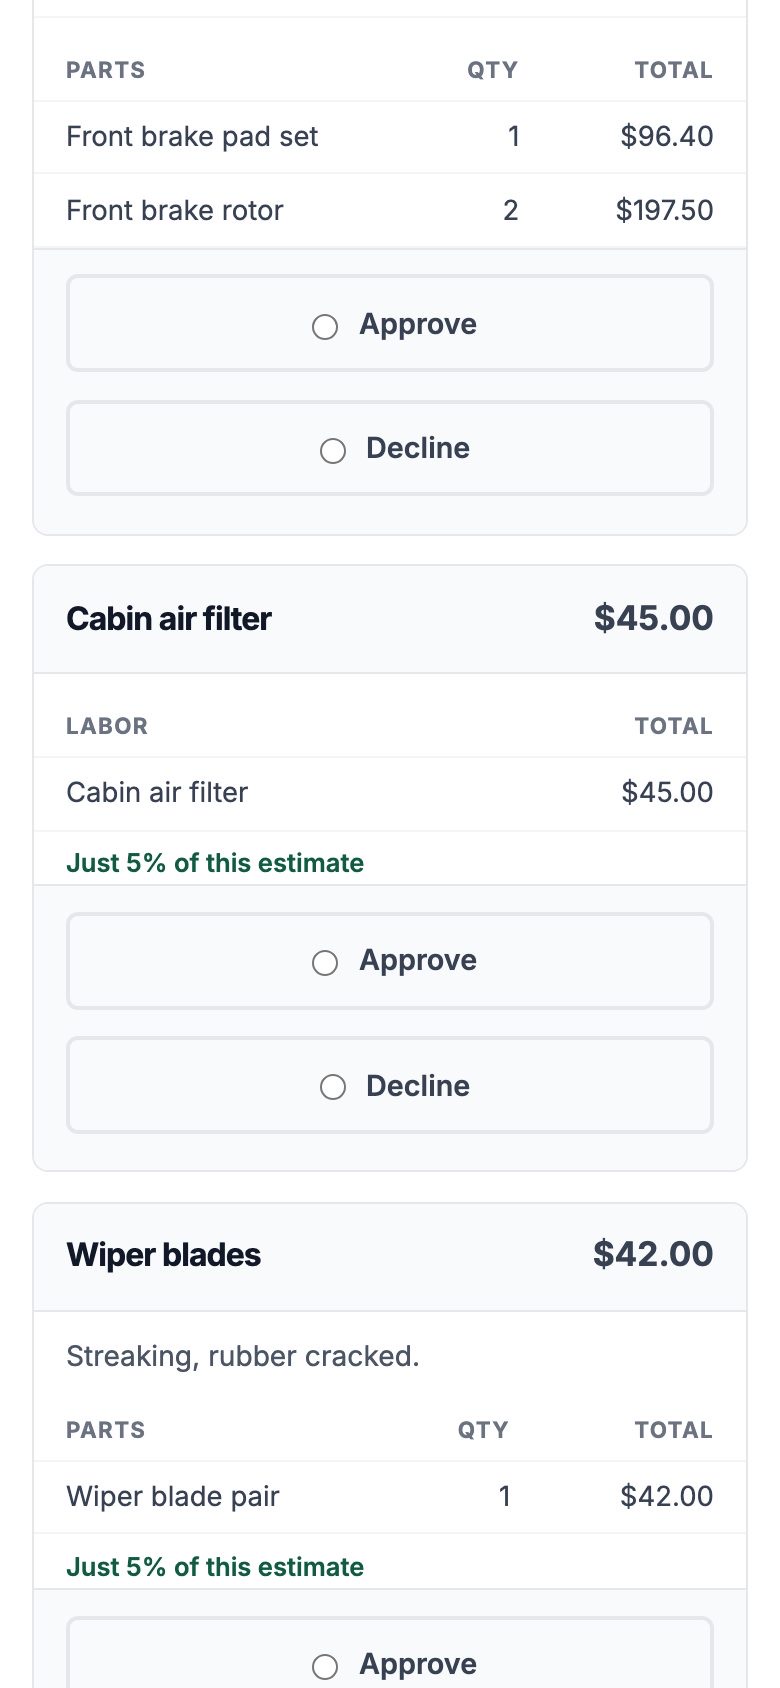
Anything they decline is saved with its photo. When you follow up in a few weeks, you can send that same picture again, which is often what gets the job booked.
Common photo mistakes
Most bad inspection photos fail in the same few ways. If you fix these, the rest mostly takes care of itself.
- Too far away: the problem is a tiny spot in the middle of the frame
- Too dark: taken under the car with no light
- Blurry: snapped one-handed while reaching into the engine bay
- No caption: the customer has to guess what they're looking at
- Too many: twelve photos of the same brake, so the good one gets lost
Quantity isn't the goal. One or two clear photos per finding is plenty. Customers look at every picture you send, so make each one count.
A simple standard for your techs
Write your photo rules down and keep them short enough to fit on the toolbox. Something like:
- Every flagged item gets at least one close, well-lit photo
- Add a gauge, a finger or a comparison when it helps
- Write one line of what you found, shorthand is fine
- Mark it now, soon or watch
- Photograph a few good items too
Review a handful of inspections together at the end of the week. Point out the photos that worked. Techs pick this up fast when they see which pictures got approved.
The short version
Get close, light it, give it scale, compare it, caption it in plain English and be honest about urgency. Then get those photos in front of the customer fast, attached to the estimate. A good photo does the explaining for you, and that's what turns “I'll think about it” into “go ahead.”
Tip: Pick one tech's inspection from this week and look at it as if you were the customer. If you can't tell what's wrong from the photo alone, that's the habit to fix first.
Try it on your own repair orders
14-day free trial. No credit card. No contract, cancel anytime.
Start free trial